DIY Leopard Print Nail Art
Hey everyone!
If you follow us on Instagram (@brunbodybar) you might have seen the many fun leopard print nail art sets I’ve been doing lately; well today I’m going to show you how to do your own leopard print nail art at home! Usually I prefer to do nail art with gel polish as I can make little adjustments before I cure the polish without messing up the whole nail but, for today I’ll be using regular polish because I know not a lot of people have their own LED light and gel polishes at home.
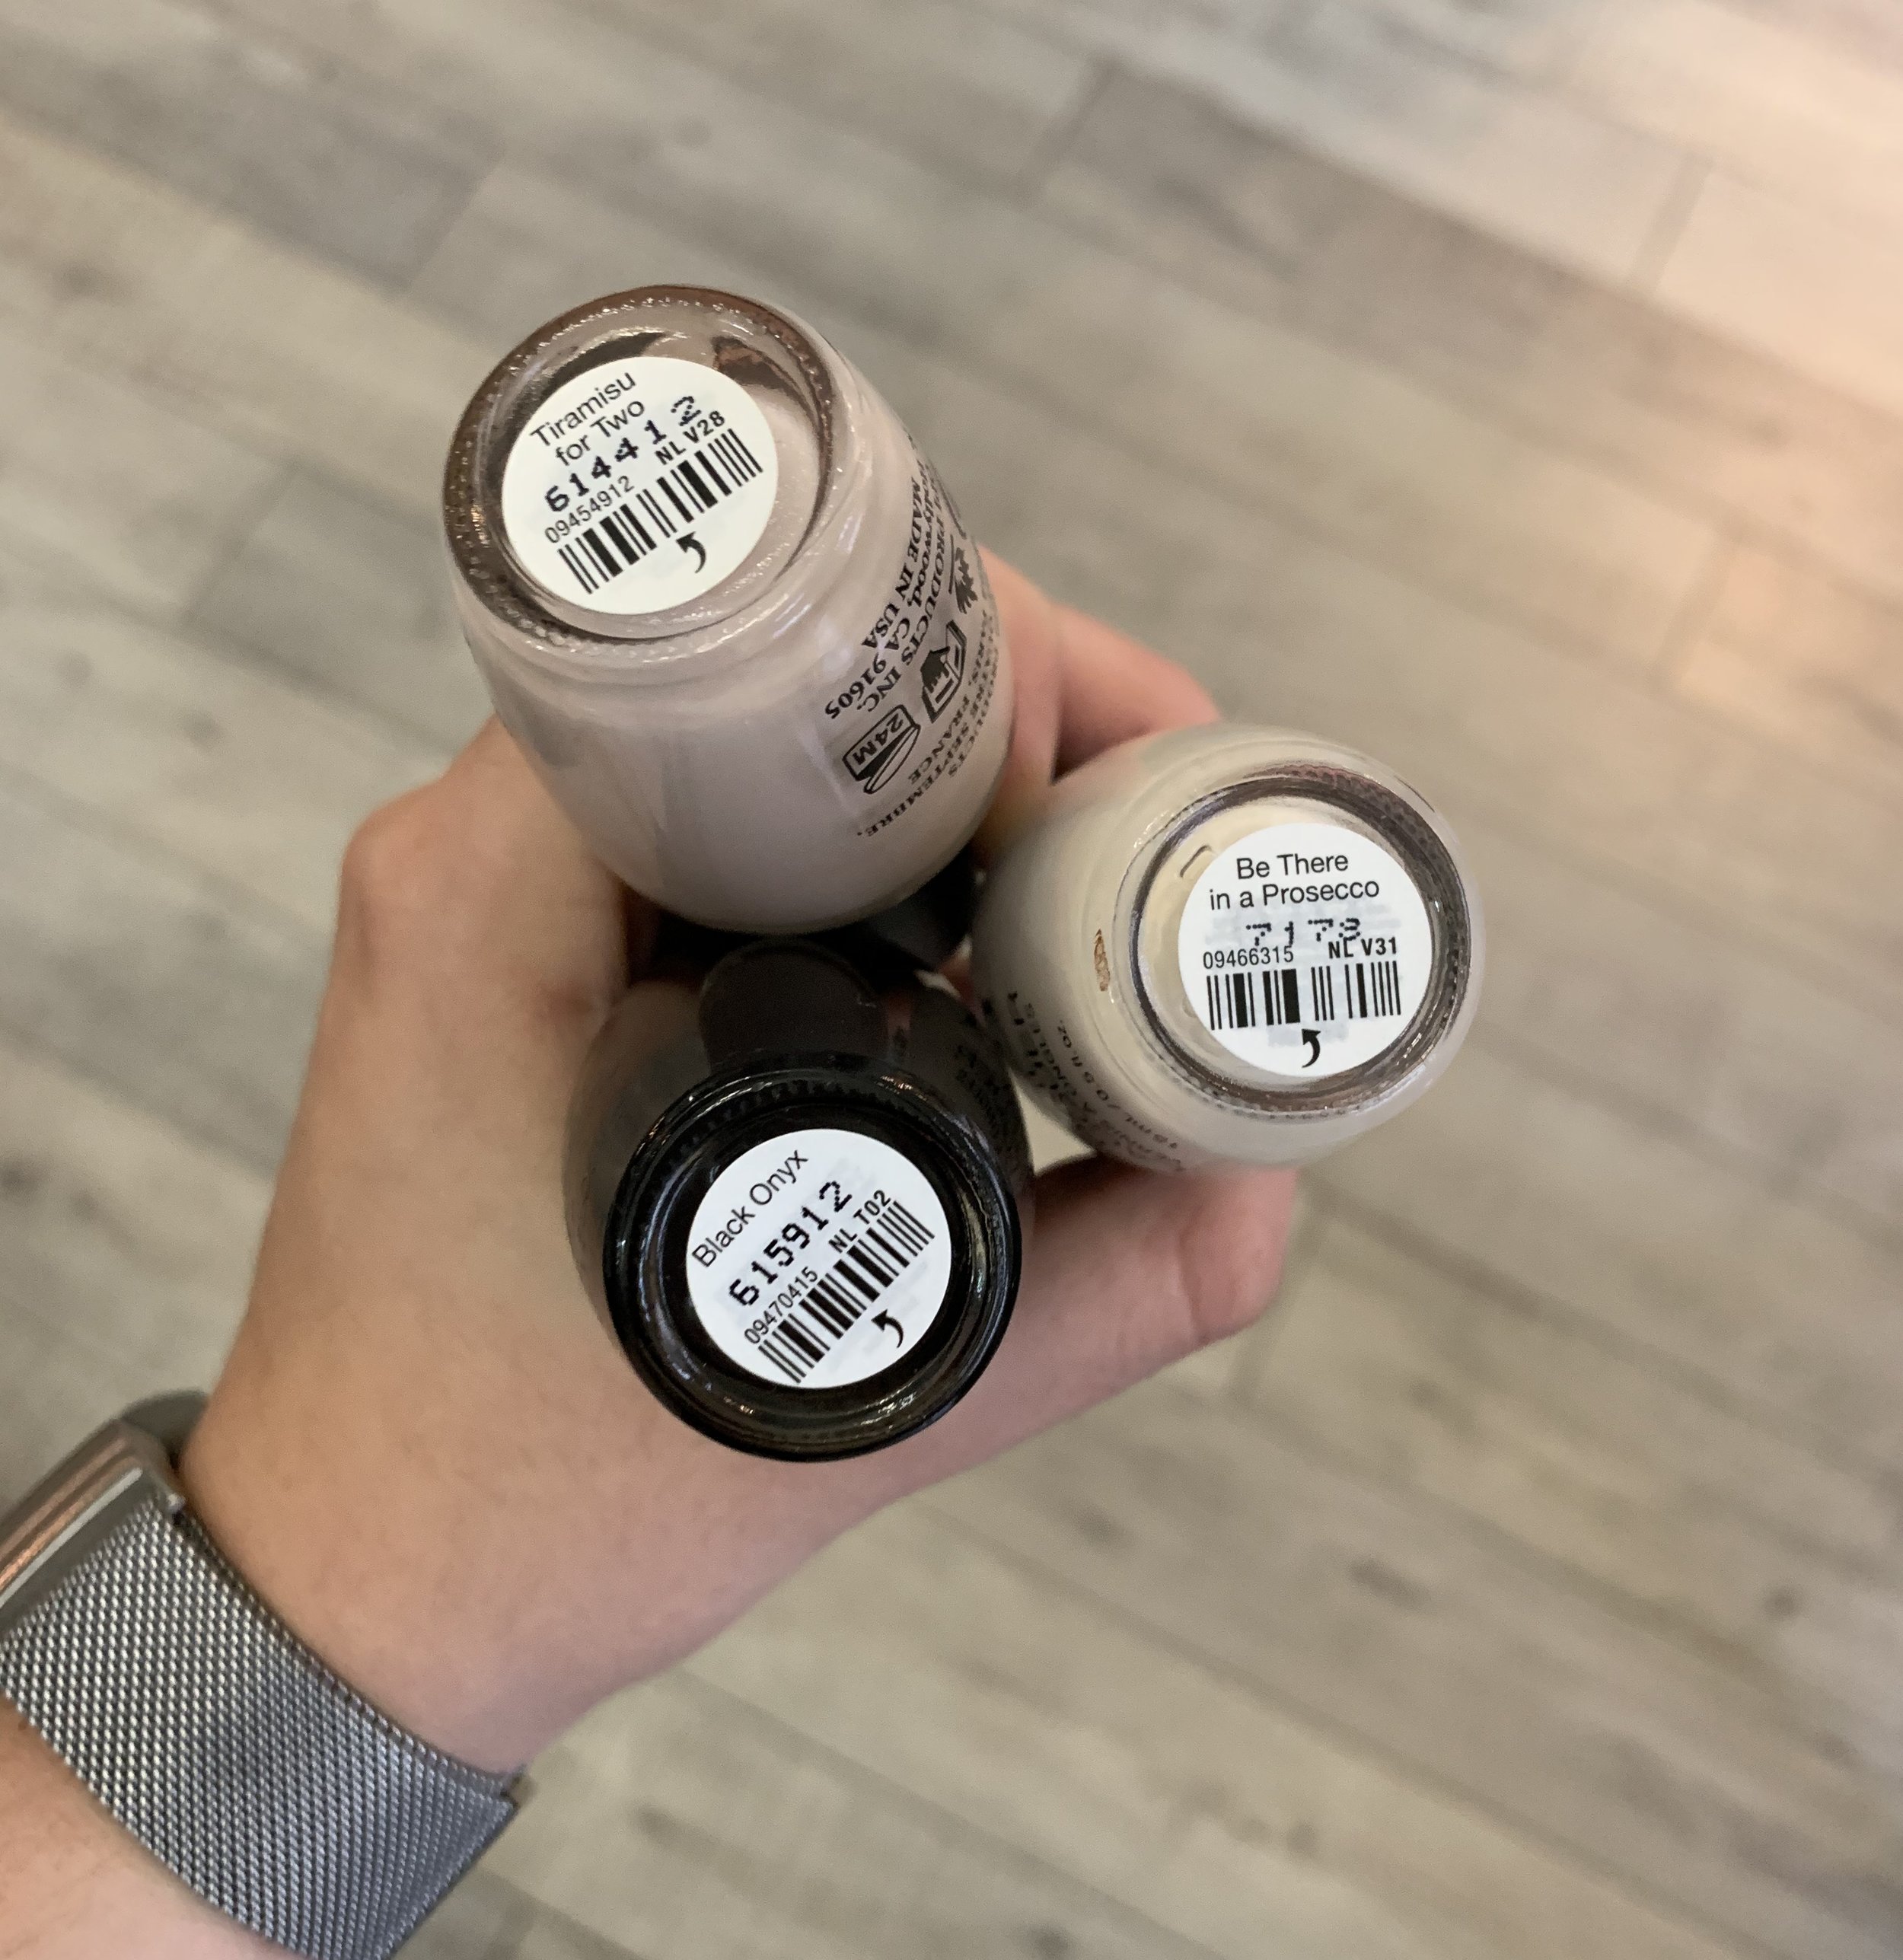
Before we get started, lets make sure we have the right supplies! You’re going to want to have a base coat, a top coat, and three different nail polish colours. Here at Brun Body Bar we use OPI polishes, which I definitely recommend but you can use whatever you have at home! The colours I used today are OPI’s “Be There in a Prosecco”, “Tiramisu for Two”, and “Black Onyx”. I’ve been really liking using these colours as it kind of tones down the leopard print and makes it a bit more chill but you can get creative and use whatever colours you want.
Another necessary supply to have is a dotting tool. I use a dotting tool from a nail art brush set from Amazon, but if you don’t want to go through the trouble of buying one you can get crafty and make your own! There are two ways you can do this: you can take a bobby pin and bend it and use the round end, or you can take a sewing pin and stick it into the eraser on a pencil. Both work pretty well!


I like to use a piece of tin foil as a polish palette but a sticky note or piece of paper also works.
Okay, now for the fun part!
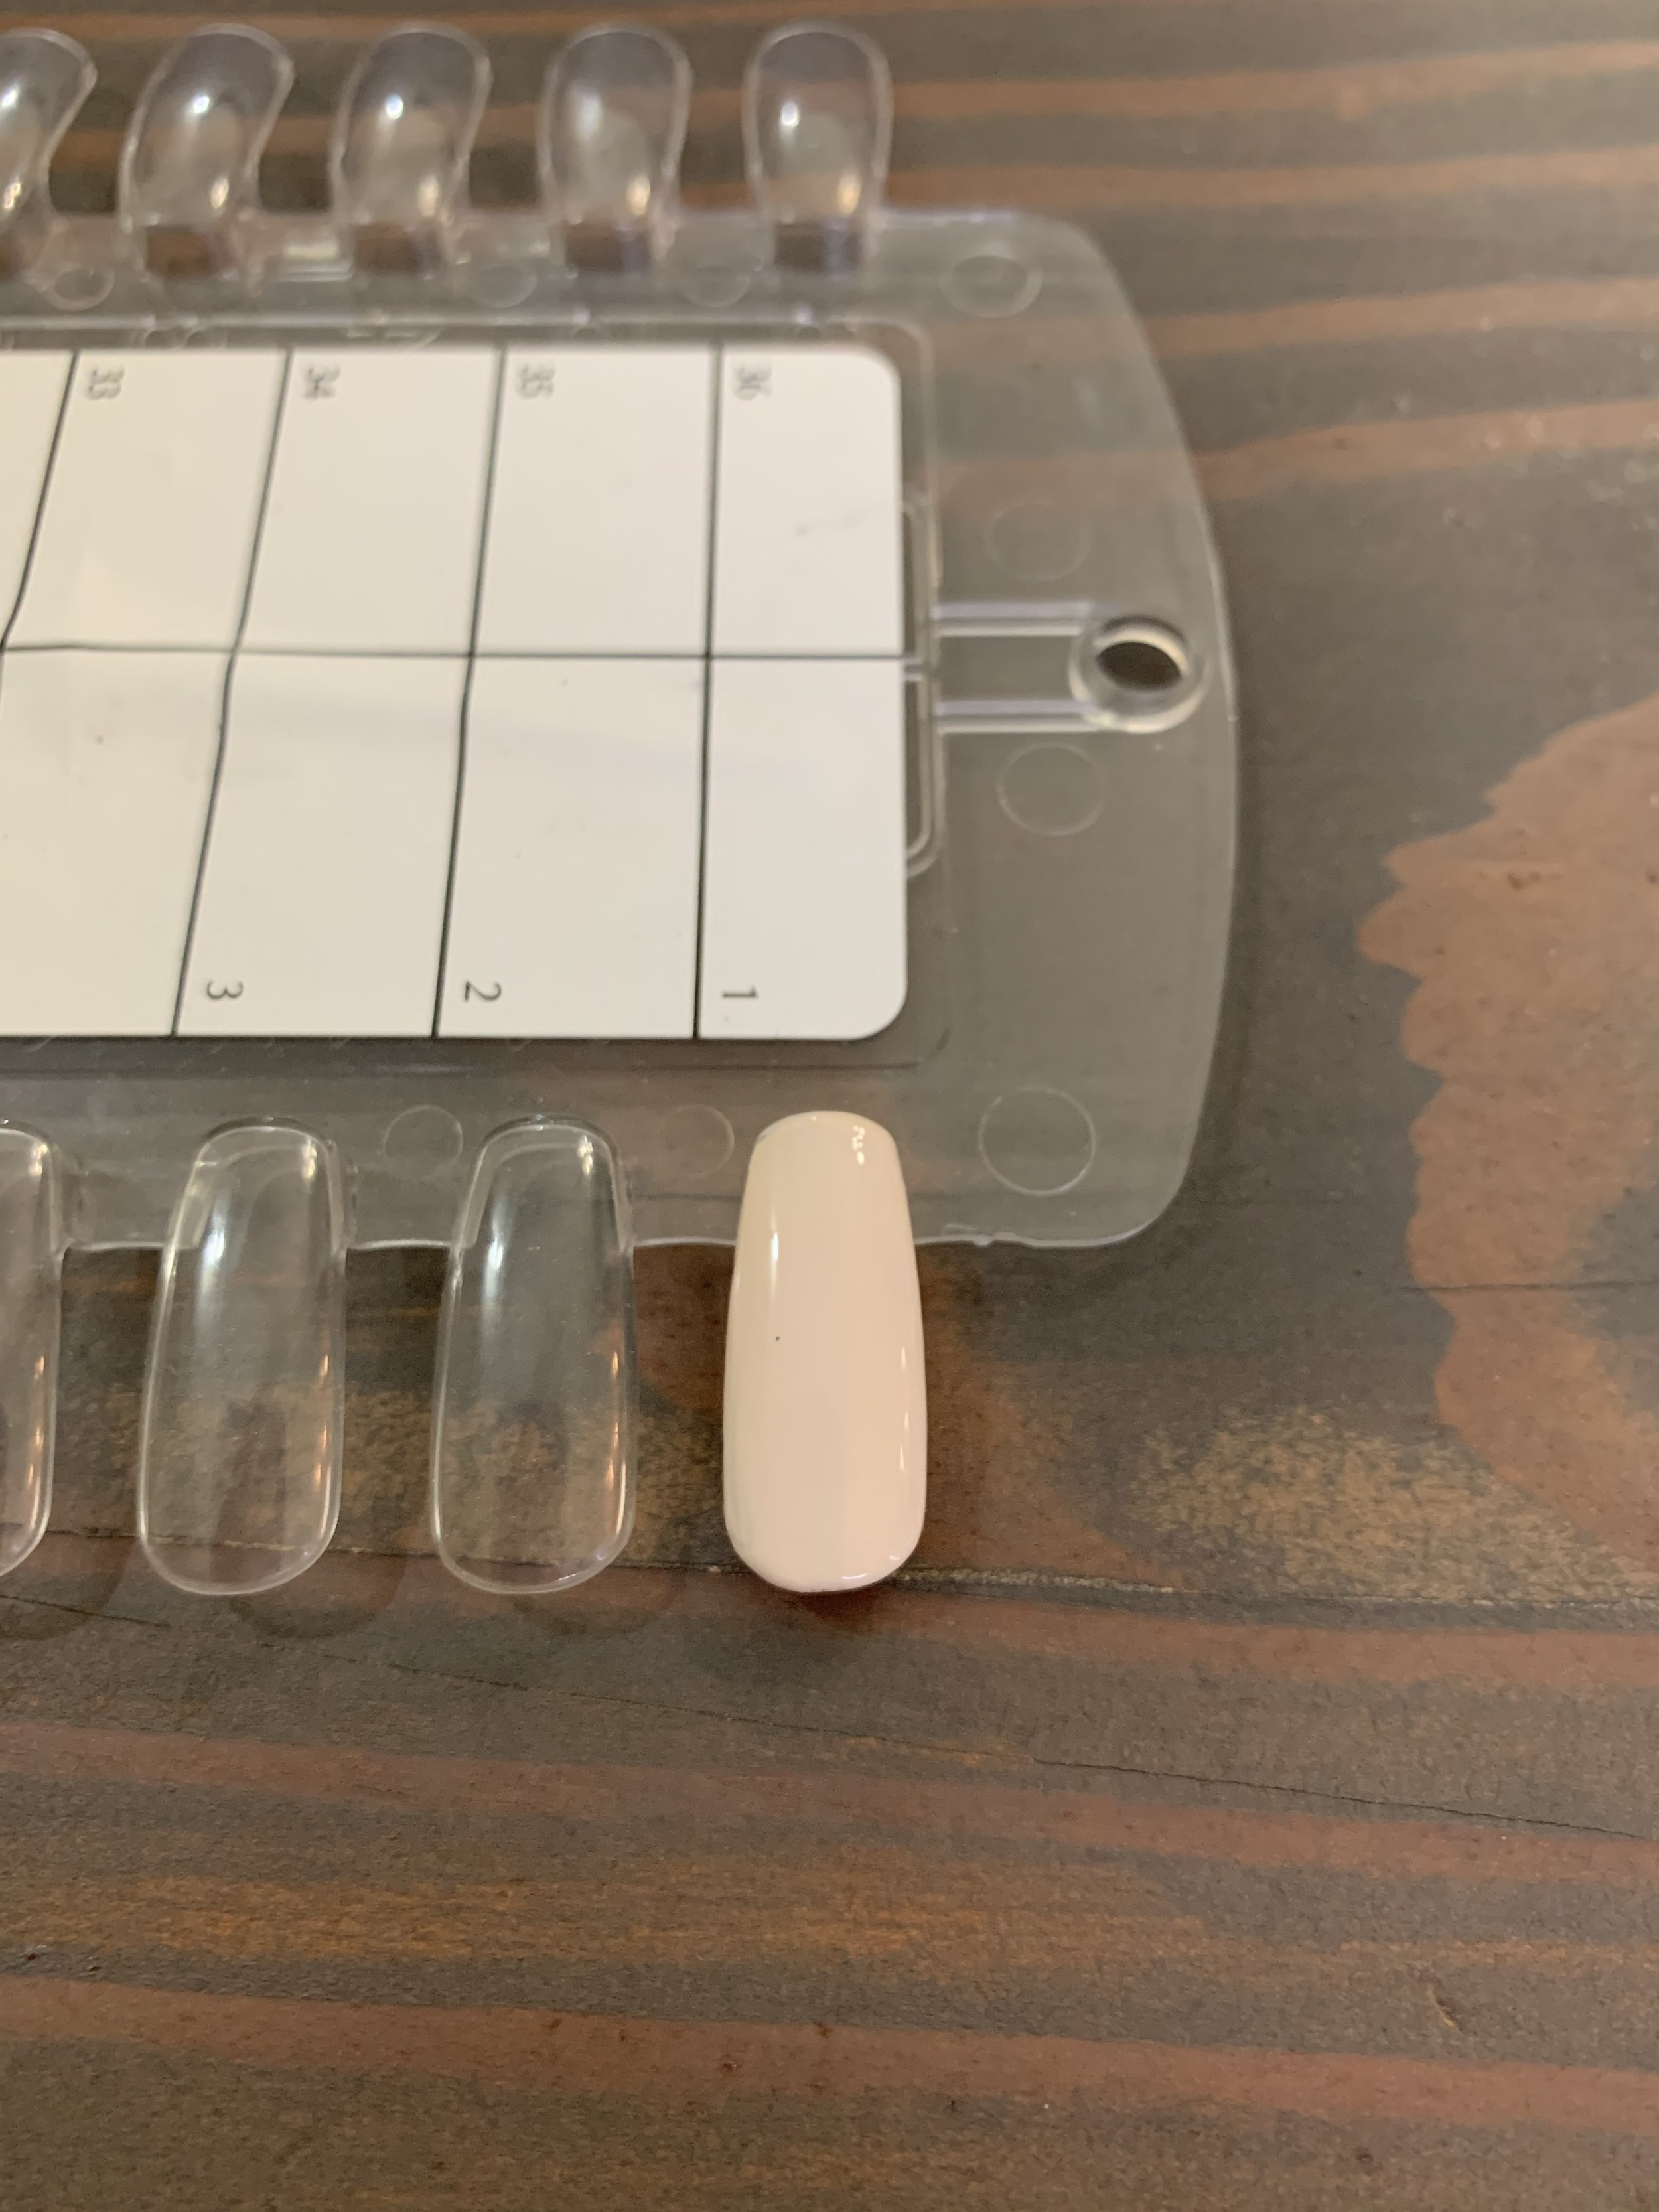
Your first step is laying down the base colour. For this I used, “Be There in a Prosecco”. I recommend two thin coats.


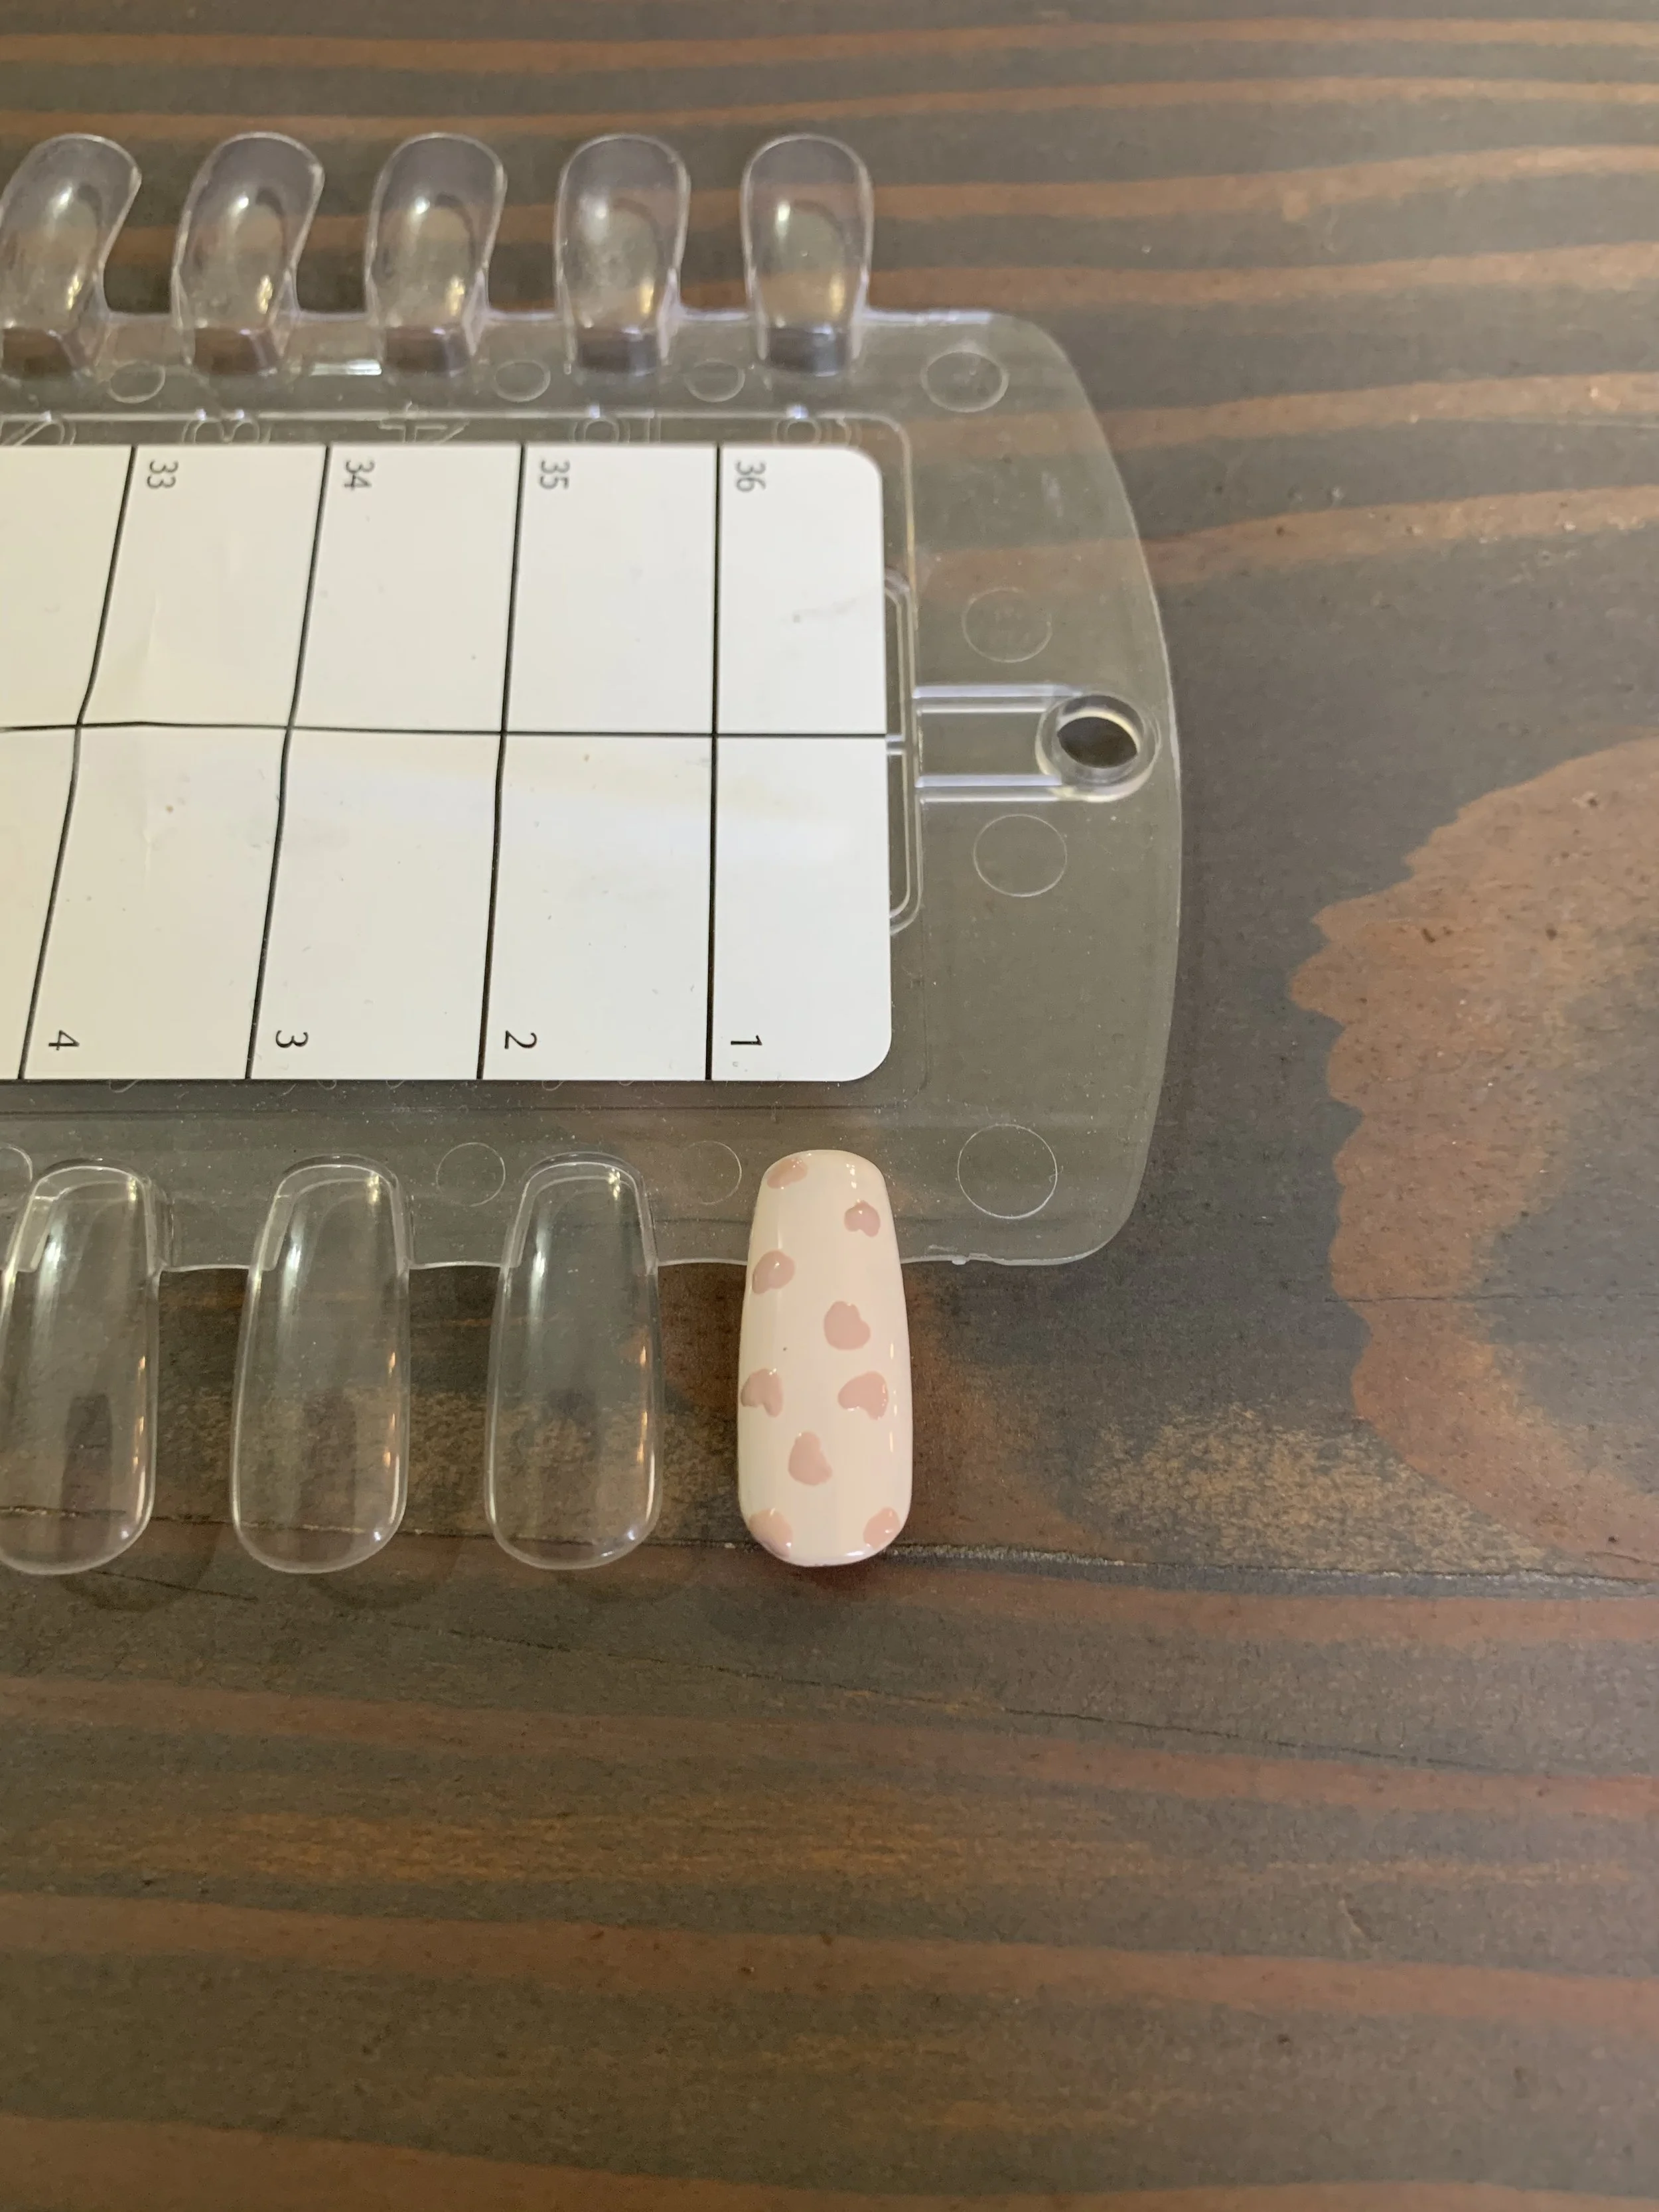
After your first two coats have dried, you can start on the spots! Now you get to try out your dotting tool. I like to use “Tiramisu for Two” and make thick little semi circles but honestly you can just make blobs if you want Leopard print doesn't have to be perfect and that's why it’s so fun to do!
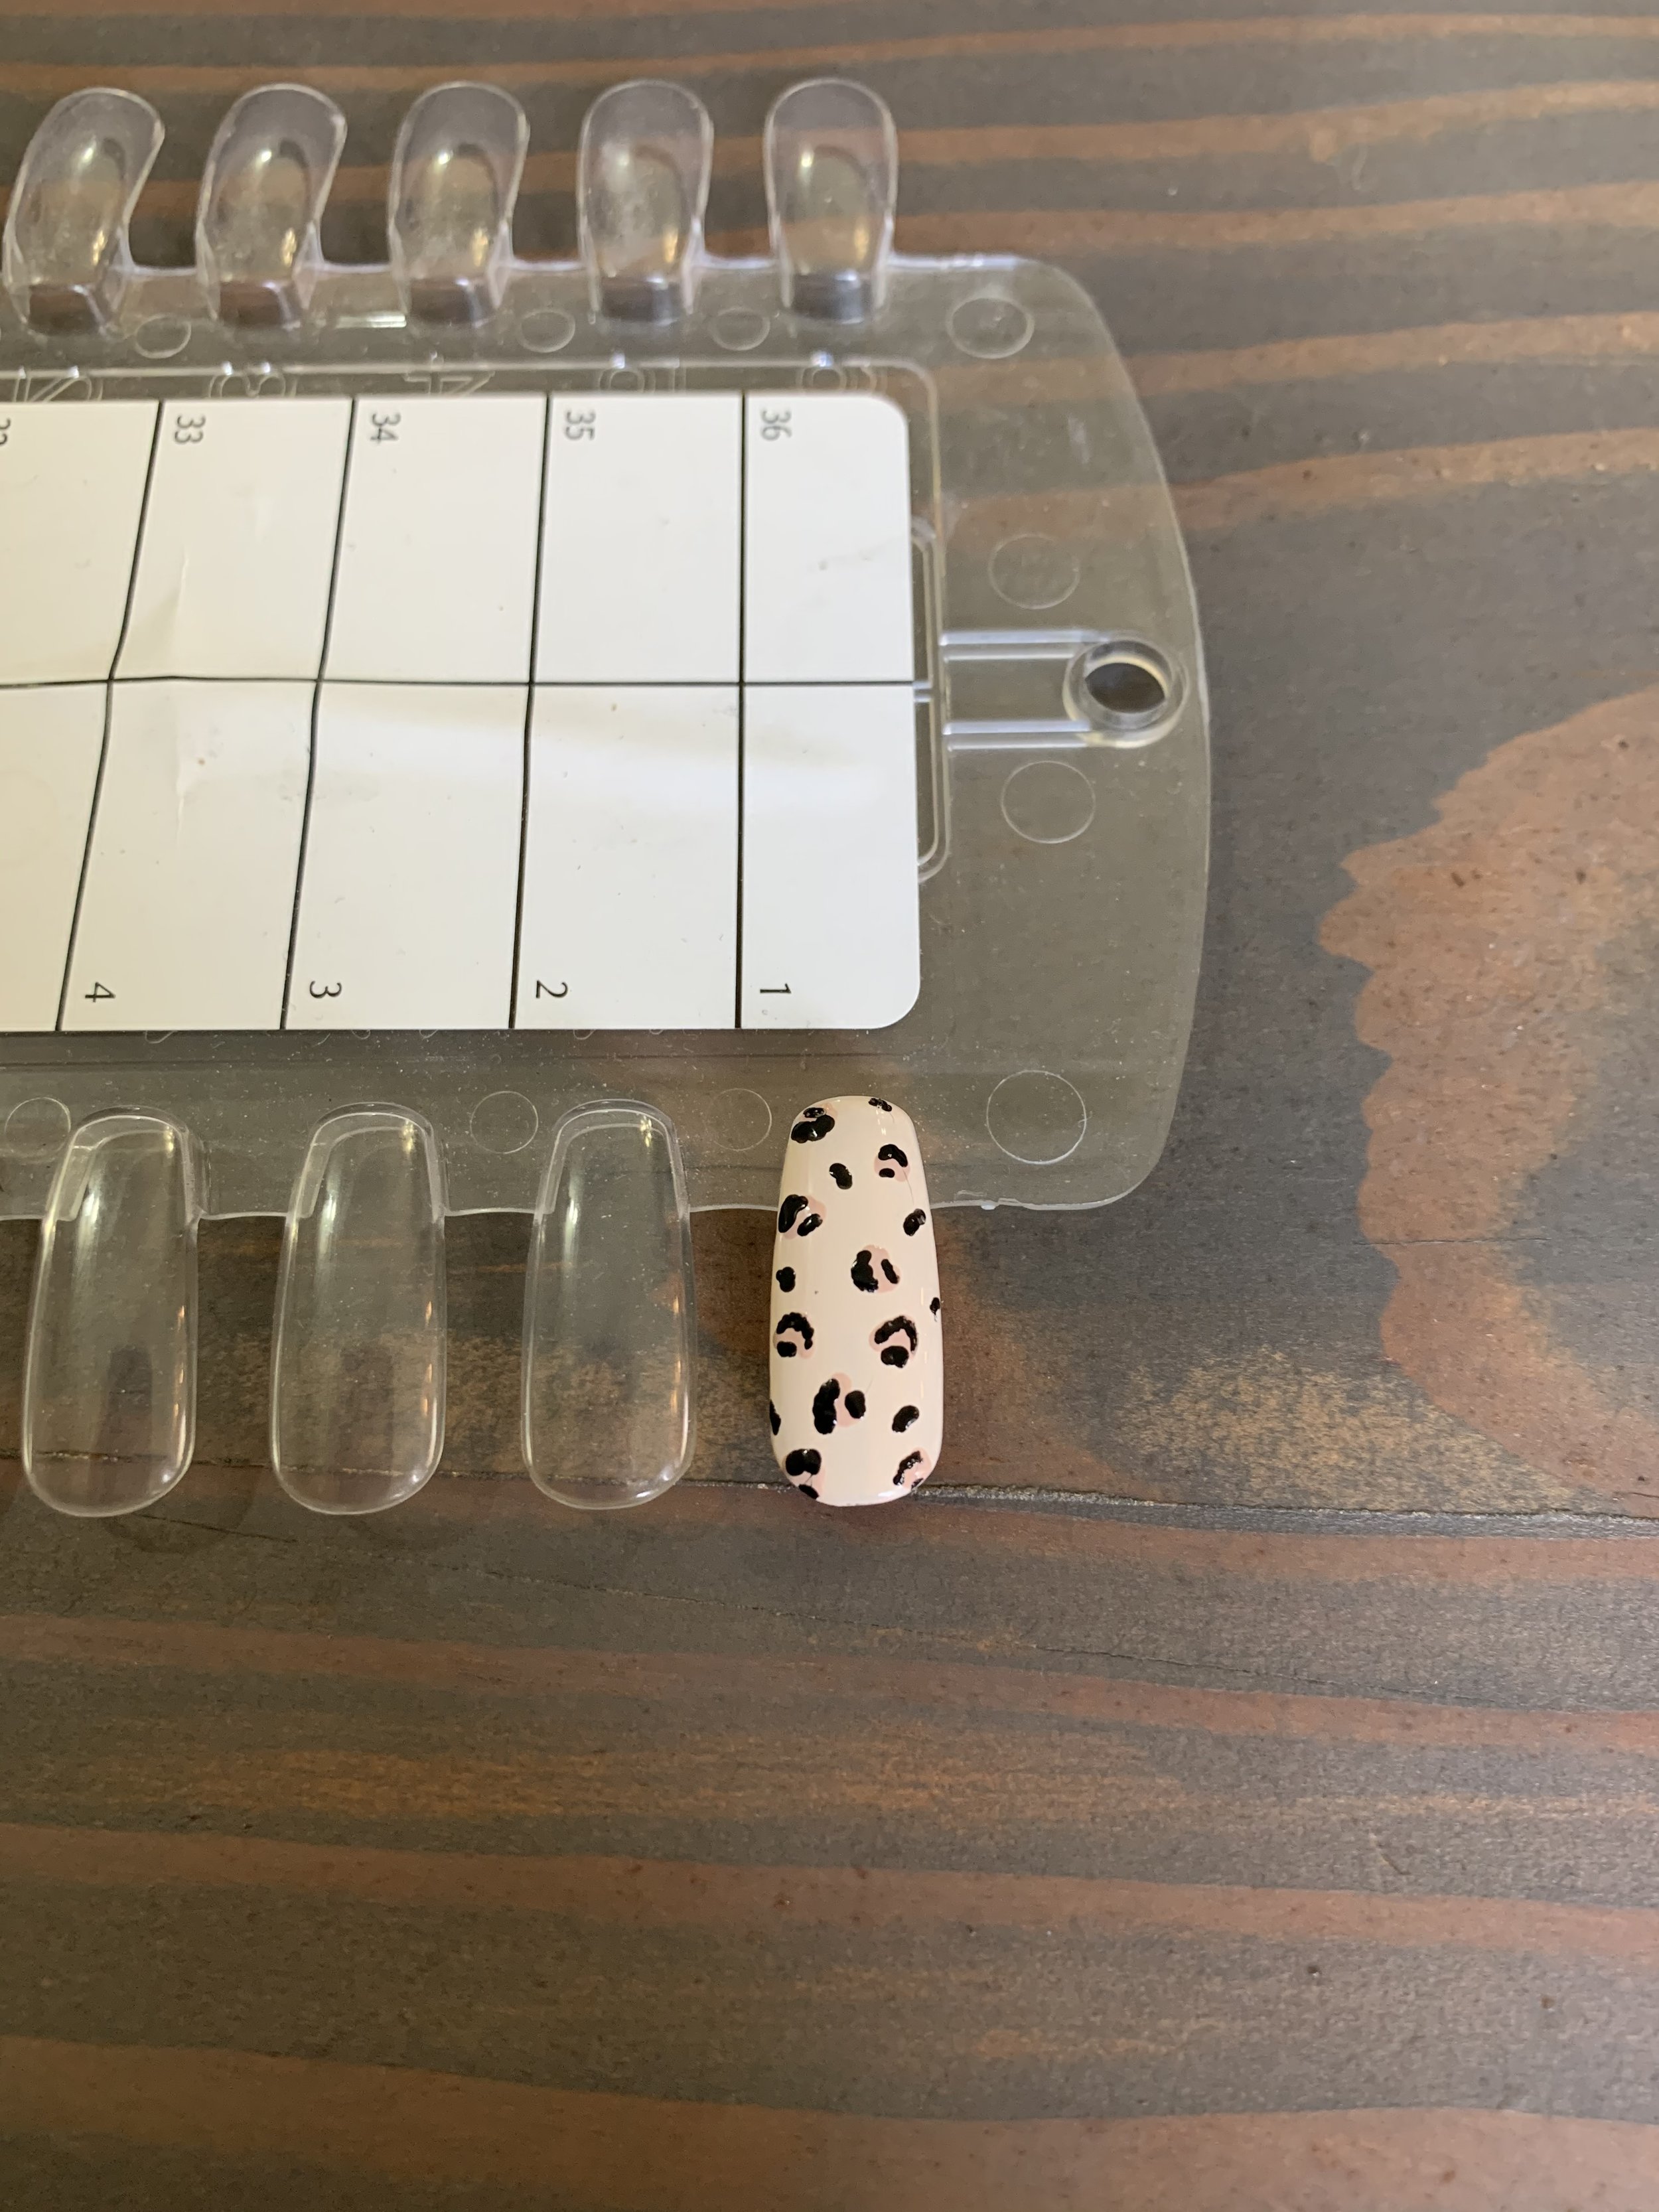
Let the little blobs dry for a bit and then you can start on your outline. I’m using “Black Onyx” and I’m just going to outline the spots following their semi circle shape. I outline the outside of the spots but I don't outline the whole thing. This is kind of hard to explain but hopefully the picture will help me out. I like to do every spot a bit different and I find that the design looks best with some variation.
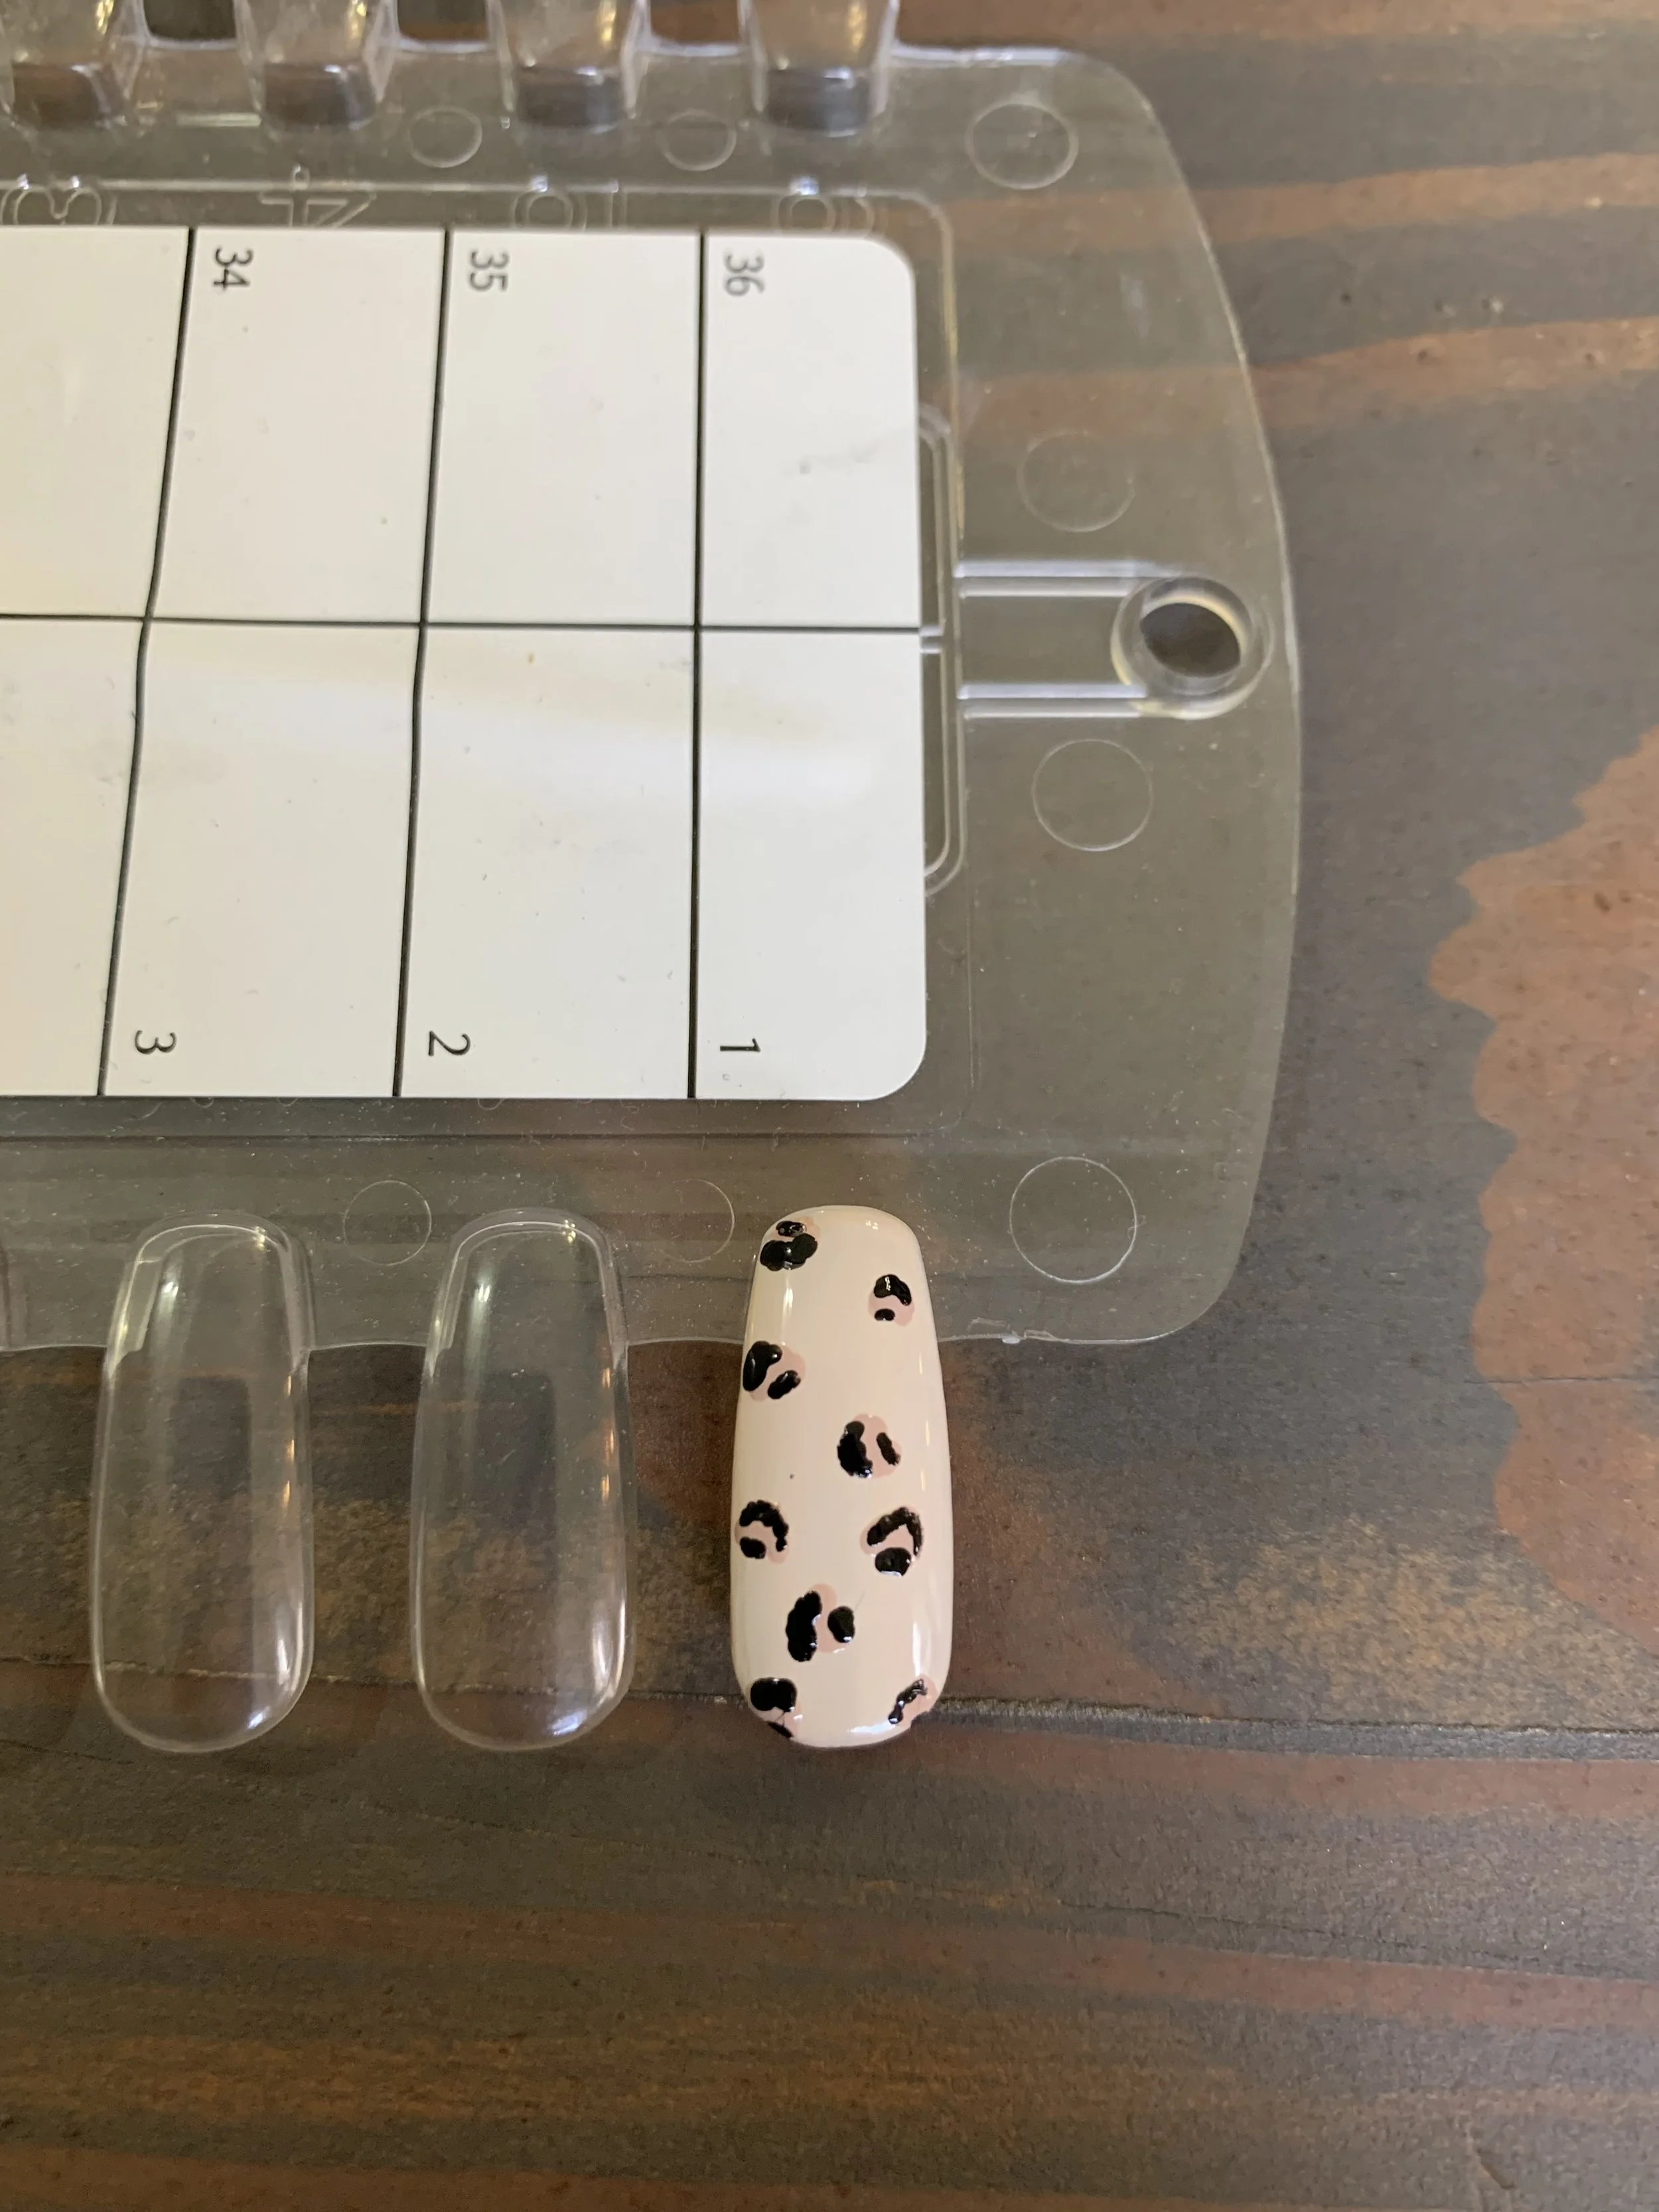
Next you want to add some little spots with your outline colour here and there to help fill the blank space and really tie the design together.
Now you’re going to want to let this dry COMPLETELY!! This is very important because if the design is not fully dry it will smear once you put the top coat on. I have made this mistake many times and it is deeply upsetting when it happens.
Once your polish is fully dry, you can pop a top coat on and wait for that to dry and you’re good to go!
Nail art isn’t easy so don’t be too hard on yourself if you don’t get it right the first time. With a little practice you will soon be walking around with animal print masterpieces on your fingers! This design looks great as an accent nail or on every nail if you’re feeling brave ;) thanks for reading and have fun living your best leopard print life!!
-Rachel